I accidentally spilled tea on my Microsoft natural ergonomic keyboard (Referal link). After cleaning up the visible mess I continued to use the keyboard as normal as everything still worked. But the next day the keyboard didn’t work anymore. The lights were still flashing but the keys I pressed didn’t show up on the screen.
Seems like a great opportunity to see what it looks like inside, so it’s time to pry it open!
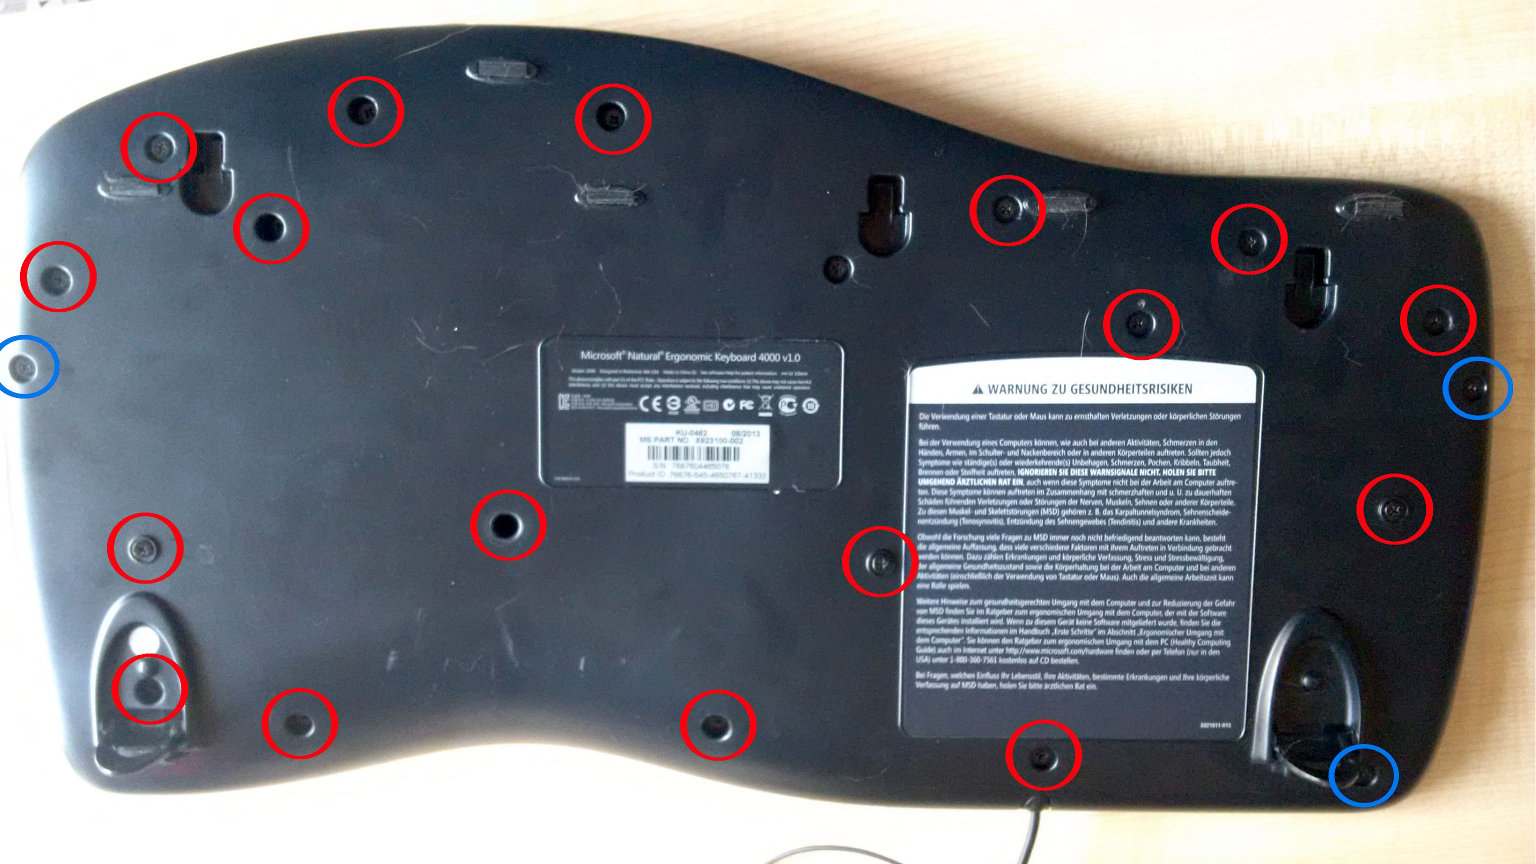
To see the insides of the keyboard, you first have to remove 21 (!) screws. 3 of them are longer than the other ones, these are marked in blue.
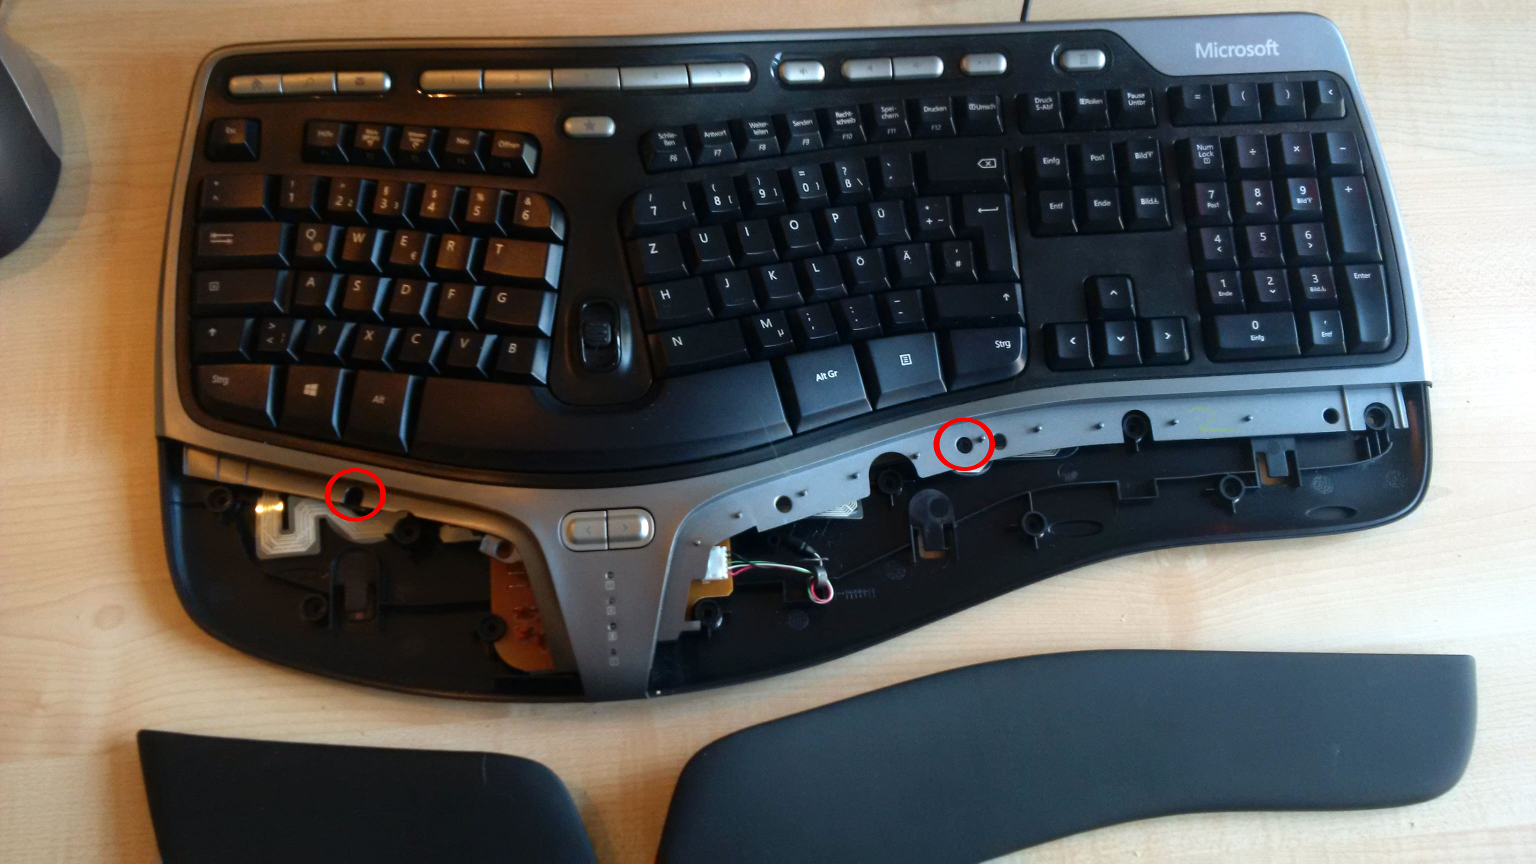
Turn the keyboard back around and remove the faux leather palm rest. It should be easy to take off after removing the scews. Under the rests are two more screws that want to be untightened.
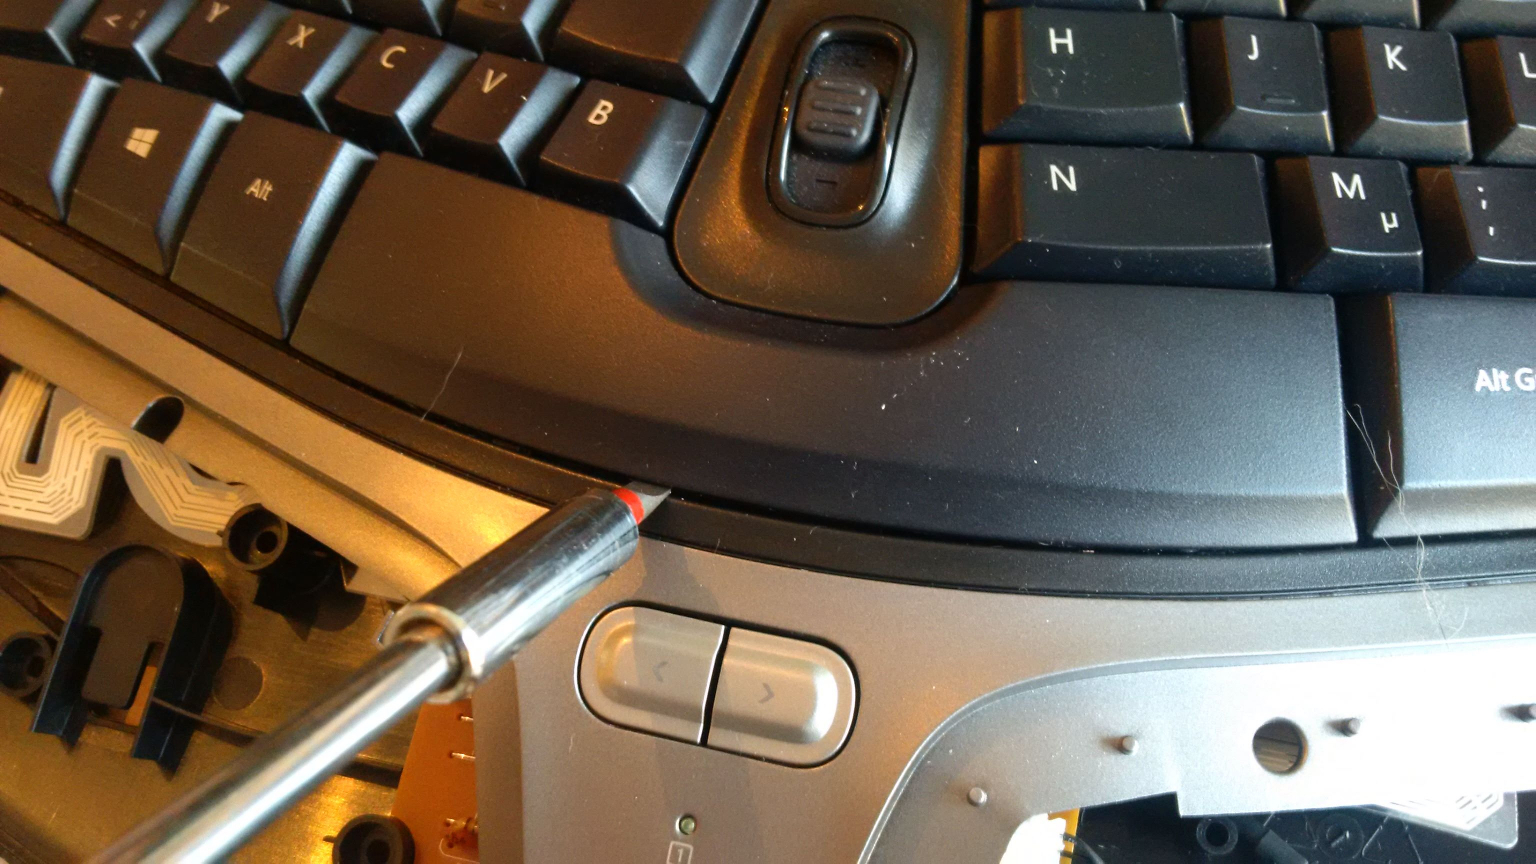
Then you have to remove the space bar, because under it there are even more screws! Squeeze a screw driver under the middle of the key and slighty turn the screw driver. The space bar should pop up. You may have to use a little force here.
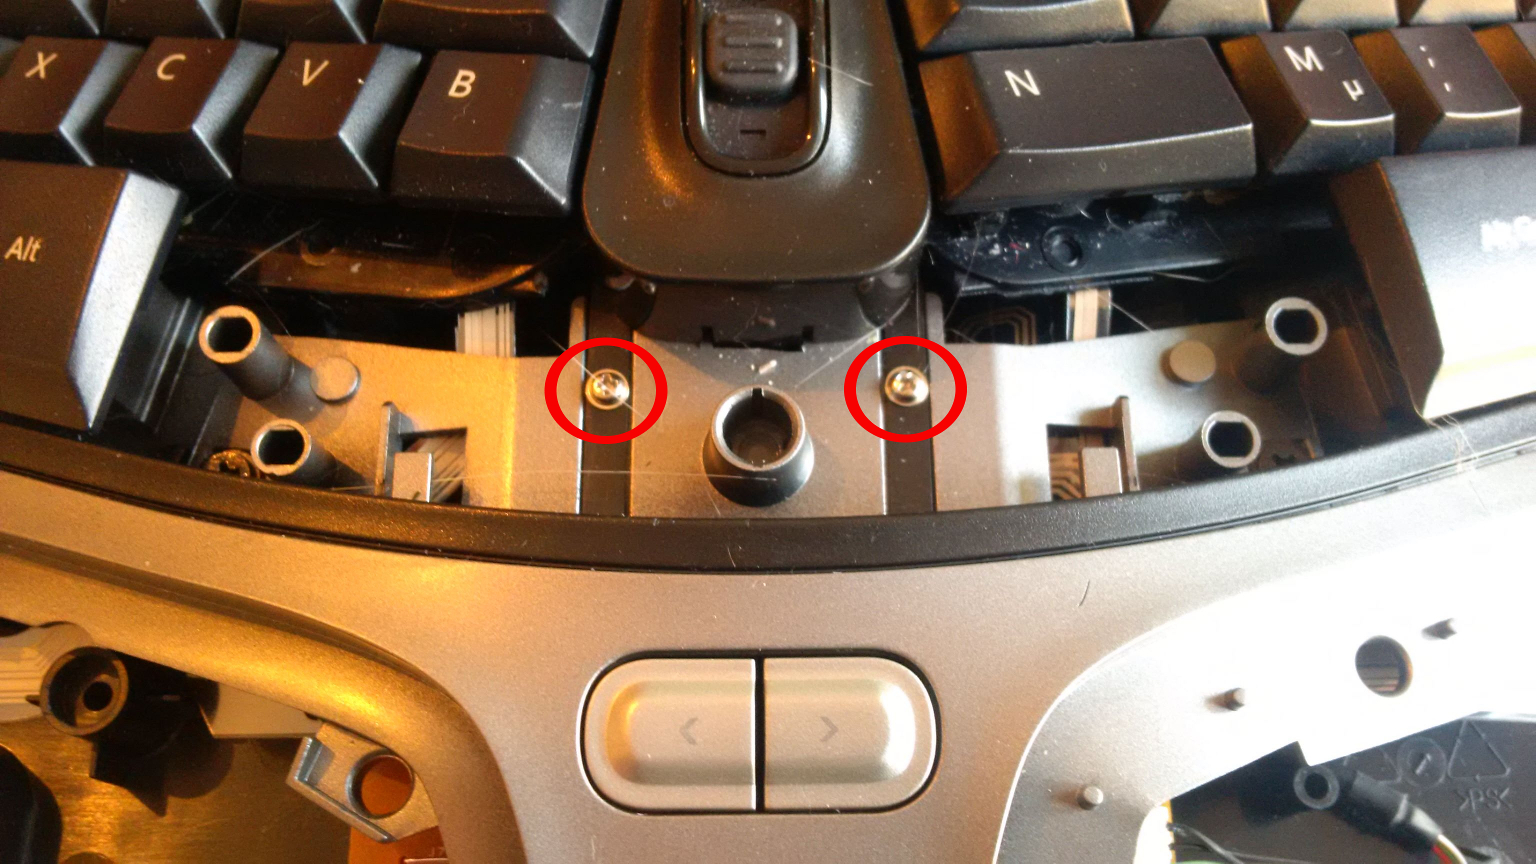
Remove the two uncovered silver screws.
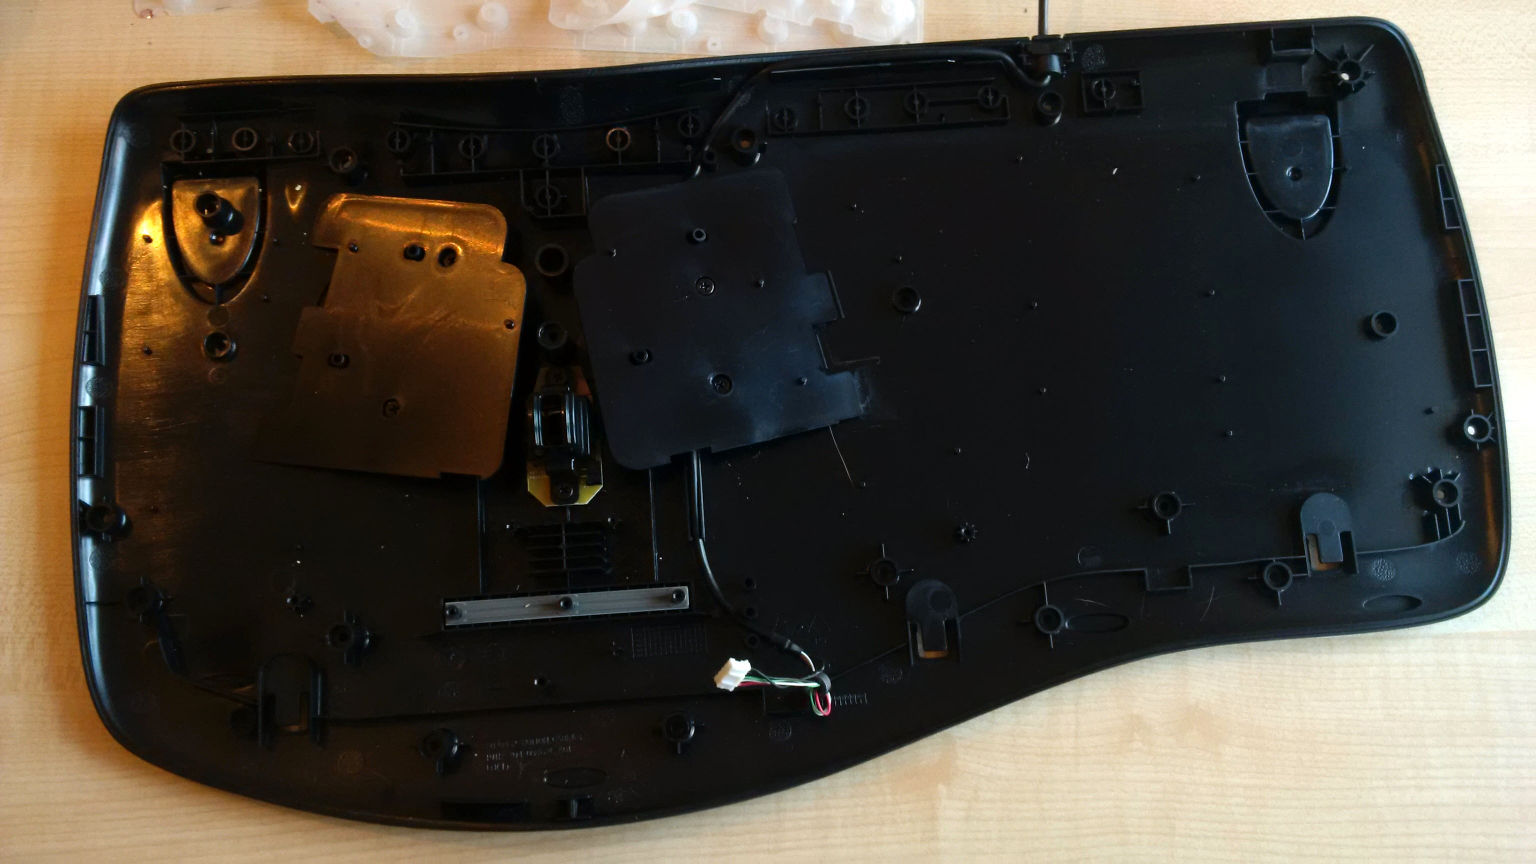
Now you can take off the upper part of the keyboard. Under it you’ll find white rubber pieces that make the keys bounce up and down. Take these off, too. Under that, you can see the silicone contact layer that detects the key presses, also known as the key matrix.
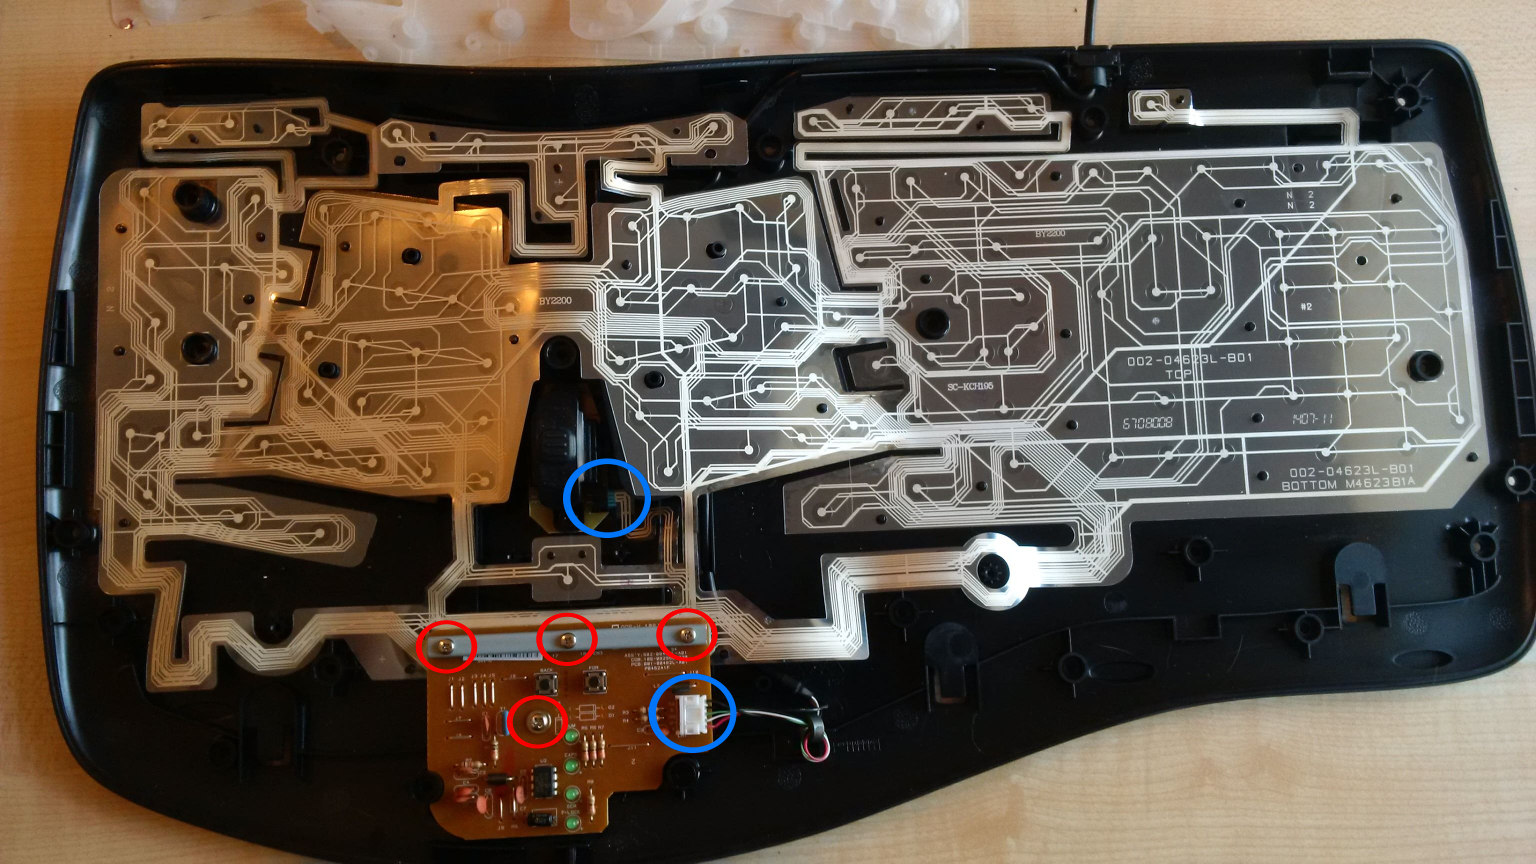
The brown part south to the key matrix is the micro processor. This is the part that is connected to the power cord. Pull the white plug (circled in blue) on the right side of the circuit board.
You also have to unscrew the four small screws on top of the circuit and remove the metal bar that was held down by the screws.
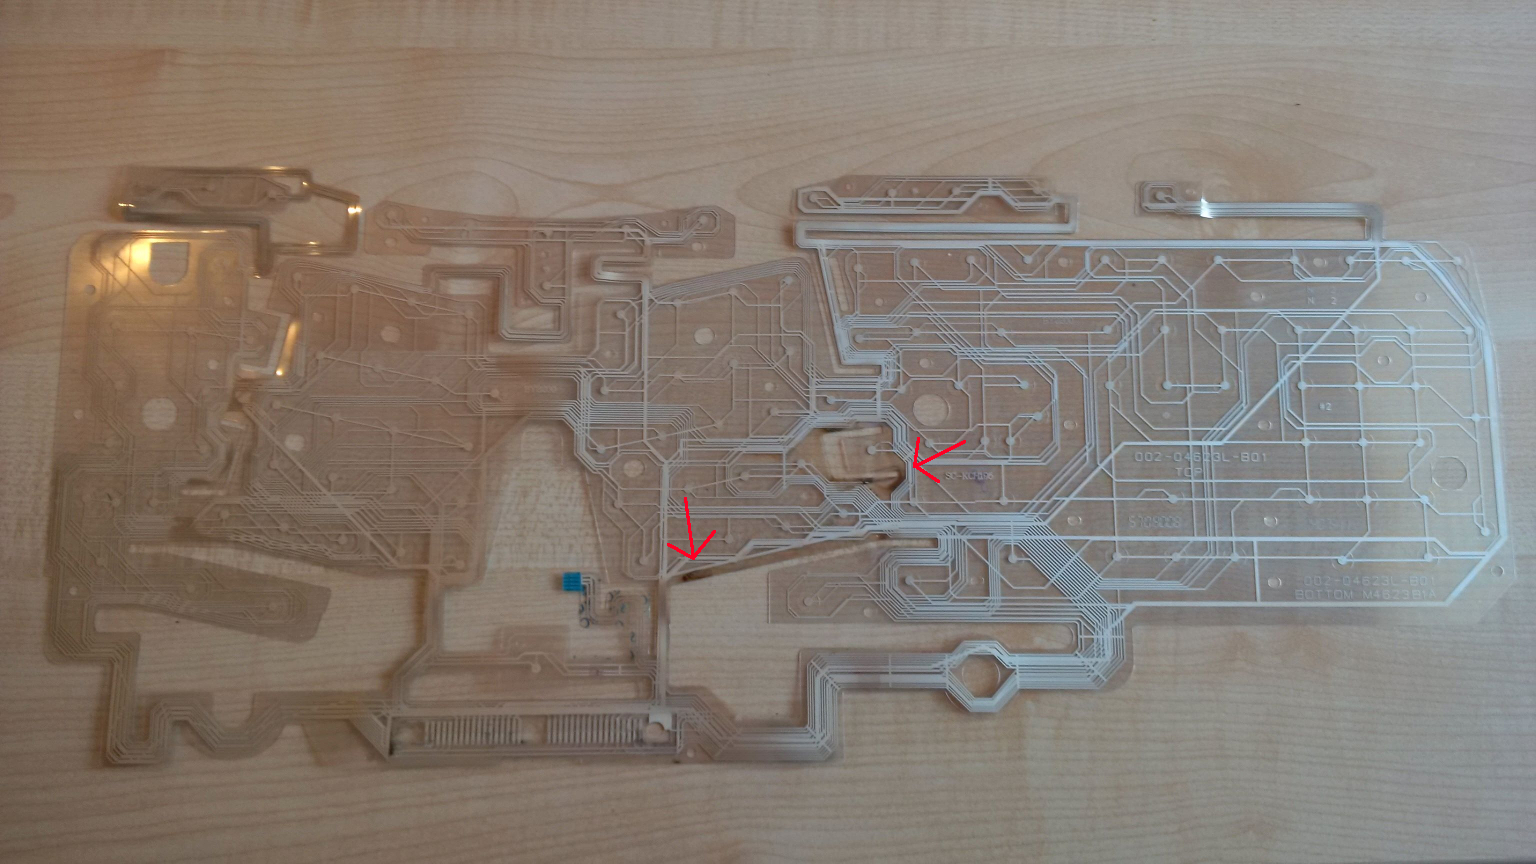
The up and down key between the two halves of the keyboard is connected via a plug with the rest of key matrix. Pull it out. Now you can remove the key matrix completely and the keyboard is fully disassembled.
On the following photo you can actually see the damage done by the tea. Take a look at the brown marks.
I tried to gently remove these marks with water. Sadly, my keyboard was still not functioning after cleaning it.
Lucky for me, I still had an old Microsoft ergonomic keyboard laying around that had another problem. So I took apart this keyboard, put the key matrix in my newer keyboard and put it back together. Now it’s working again!
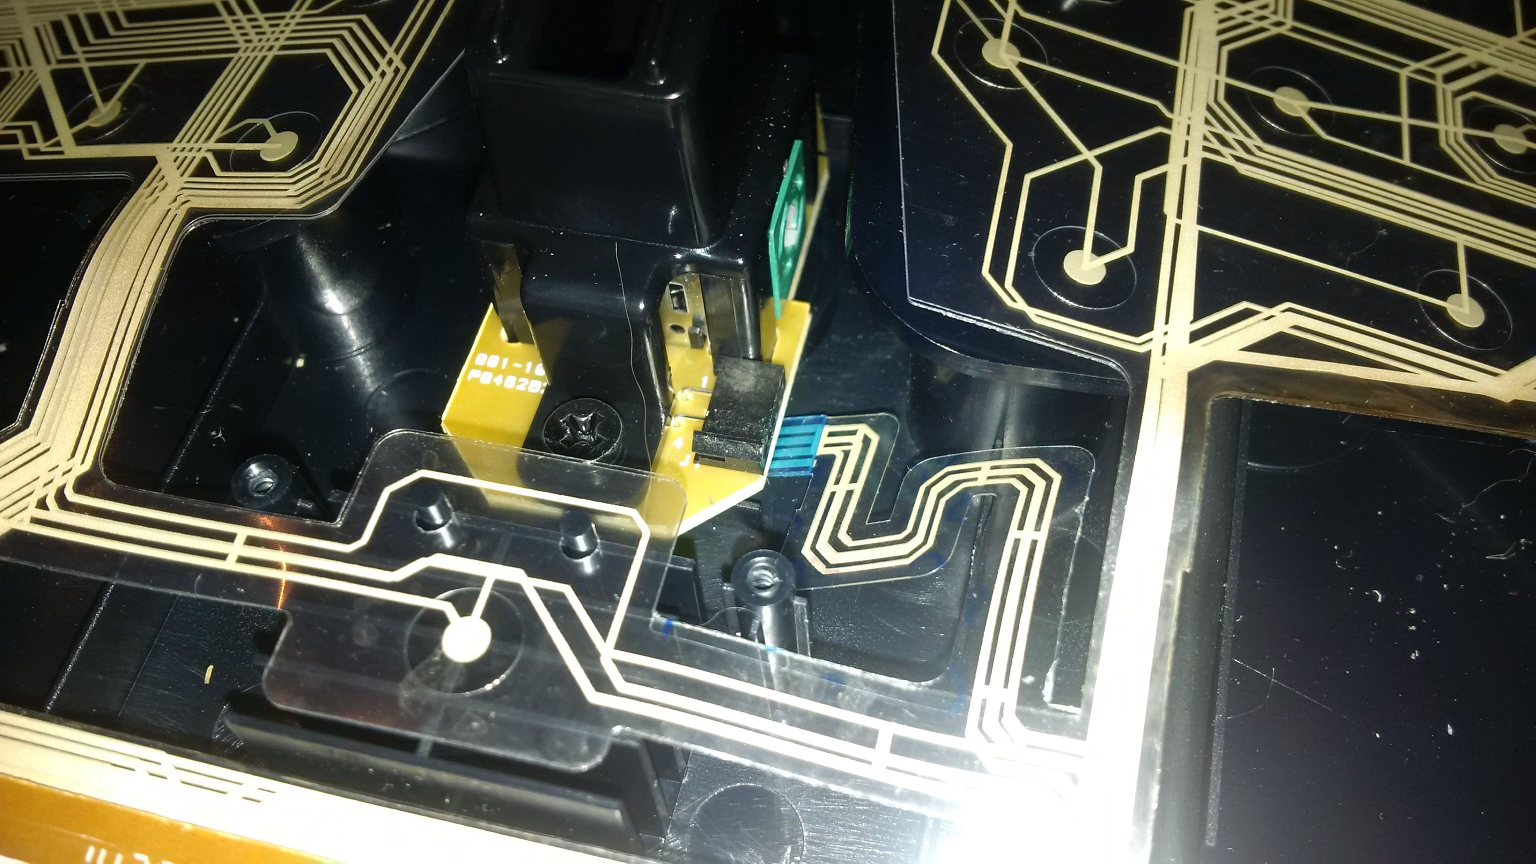
To reassemble the keyboard just follow the steps in reverse order! ;-) If you have a problem reattaching the plug that connects the up and down key to the key matrix, remove the two screws holding it tight, put the plug in and reattach the key!
Also if you want to know more about the inner workings of a keyboard, take a look at the following links: